Steel String Acoustic Guitarmaking Class
Weclome to the SIMSCal steel string acoustic guitarmaking class. In this class, you will learn to build a “flattop” acoustic guitar, based upon designs refined and popularized in the early 20th century by C.F. Martin & Co. In the interest of efficiency, this class is limited to the making of one of the following styles/sizes of steel string acoustic guitar:
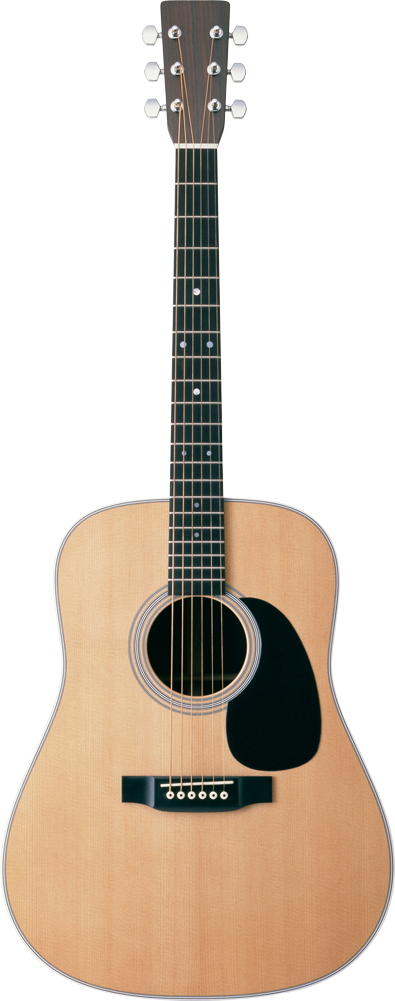
- Dreadnought
By far, the most popular choice among guitarmakers for their first instrument. A large, sonorous body with a 25.4″ scale length (the string length from nut to saddle). The neck joins the body at the 14th fret.
- OM (Orchestra Model)
The second most popular choice, the OM has the same, slightly smaller body size as the Martin 000 (“Triple Oh”), but with a longer 25.4″ scale length. The neck joins the body at the 14th fret.
The class, at a glance:
Tuition Cost: $2,500 ($100 deposit due upon registration)
Additional Cost of Materials: Approx. $500 – $600
Frequency of Class: Once a week, on Saturdays
Length of Class: 5 hours per session
Number of Sessions: Approximately 18 sessions
Location: Huntington Beach, CA 92649
Start Date: 2023 classes have concluded.
2024 class dates will be announced soon.
Instructor: Larry McCutcheon
lpmclpmc@verizon.net
Class Overview
GOAL: Our goal is to teach you how to make a guitar by making a guitar.
- The intangible goal, and part of SIMSCal’s mission, is to teach you the craft and art of making a stringed musical instrument.
- The tangible goal is to have made, at the end of the class, a guitar – either a Martin-style Dreadnought or a Martin-style Orchestra Model (OM) guitar “in the white,” a complete guitar sans finish.
COST: currently $2500; $100 deposit to reserve a spot in the class, the remainder payable in installments.
Materials are the responsibility of the student.
We will provide a list of items needed and resources where you can get them. Our recommendation is to buy materials in three batches:
- First, get all the materials for making the body. Examples include top, back & sides, rosette, end blocks, linings, binding and purfling material etc., Also, as you complete the body, a guitar case or gig bag is a really good idea to protect your work from dents, dings and changes in humitity.
- Then, get neck-making goods, neck blank, truss rod, fretboard, fret wire and headplates are some examples;
- Finally, get setup items like bridge blanks and pins, nuts and saddles, tuners and strings.
There are some small tools and consumables that would be convient to have at hand. More about this later.
CLASS SIZE: 6 max
LOCATION: Huntington Beach, California.
MEETINGS: Eighteen Saturday afternoons: 12:30 to 5:30, starting in late January, with a “Spring / Easter break” TBD by mutual agreement.
SATURDAY CLASS FORMAT:
“The Instructor’s Mantra”: Tell them, Show them. Coach them.
After reviewing progress made in the previous week – including work done at home – begin each Saturday class with lessons for the day.
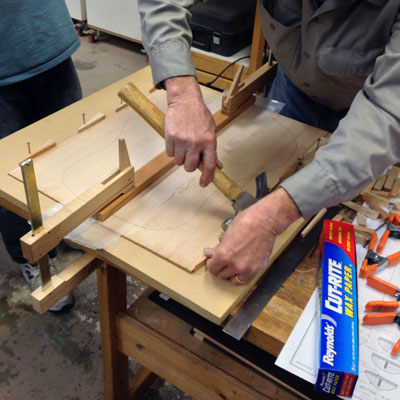
For example, an early activity, jointing / joining and gluing top plates.
TELLING: We will talk you through the process that we are going to use in class, introducing you to the concepts and tools involved, as well as touching on a couple of widely used alternative methods, with pro’s and con’s of each. (Ask questions when you have them, as understanding is the first step.)
SHOWING: Next we will set up shooting boards, gather planes, light boxes etc. and the instructor will demonstrate jointing a spruce top. The next step – to be done the same day – is glue-up. Thus, with workboards, hammer, nails, wedges and clamps the instructor will demonstrate that process, too.
COACHING: The last step is to monitor and advise as the students become familiar with the process by doing it.
THERE WILL BE HOMEWORK.
It takes 100 to 120 hours to make a nice, but relatively unadorned guitar. We have scheduled 90 hours of instruction / shop time. In order to make up the difference, we have jigged-up a few operations to speed things along, but there is still a gap to be filled outside of class time. Check out the 18 WEEK AGENDA below; you will see why.
18 WEEK AGENDA
In this class we will be making a guitar “from scratch”. The class flow is straightforward: make the body, then the neck, and finally “everything else”.
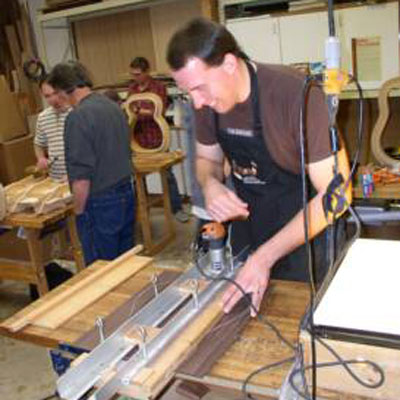
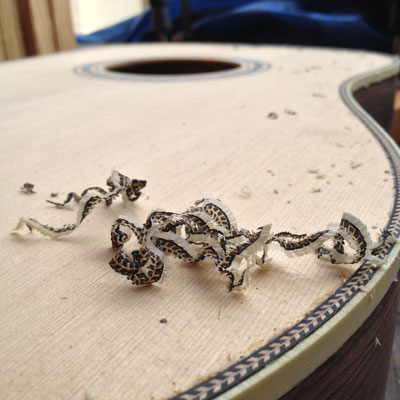
Making the body begins with bookmatched tops, generally spruce, because of its strength-to-weight ratio. an backs and sides, generally some exotic hardwood chosen mostly for traditional and aesthetic reasons. First, joint and join the top panels; inlay a rosette on the face, cut the soundhole and final thickness. Mill, radius and shape braces; then glue them on a radius form (“flat top” guitars are seldom flat) using a go-bar deck for clamping. The process is the same for the back, but instead of inlaying a rosette, we may add a decorative back strip covering the glue line. Next, layout and thickness the sides and bend them in a Charles Fox designed side bender. The bent sides go directly into a holding fixture, called a mold. While in the mold add end blocks, side reinforcements and linings. Now you have a set of rims! Next, “drive the bus”, that is sanding the linings –top and back – on the radius form to the same radius as each is braced. This provides maximum contact when gluing top and back to the rims. Next, joint the braces into the linings and then glue the back and top onto the rims, which is also done on the radius form using the go-bar deck. The last steps in completing the body are to install an endgraft – to hide the butt joint where the sides meet at the tail – and bindings and purflings. Wood bindings need to go through the side bending process; plastic bindings do not. A laminate trimmer mounted in a binding router jig cuts the binding and purfling channels. Glue down with original Titebond and thus endth the body building.
Making the traditional scarf-joint neck: the headstock is cut from the same blank as the shaft of the neck. Rather than a stacked heel, which is made from the same blank, we will use a separate single piece block for the heel. Thickness the headstock cutoff, affix it to the shaft and sand them simultaneously to the scarf-joint angle. Route the truss- rod channel. Lay out and trim the headstock shape. Glue on the heel block, lay out the heel profiles and hog it out to rough shape. Saf-T Plane the vertical taper of the neck shaft. Glue on the headstock veneer. Trim the headstock veneer to the location of the nut slot. Using the “circle-the-square” method, shape the shaft of the neck; refine the headstock transition and finish carving the heel. Trim route the headstock to final shape. But wait! There’s more! Shape, slot and radius the fretboard.
“Everything else” starts with making a bridge. Table saw / plane / drum sand to approximate thickness, route “belly” shape and saddle slot. Locate and drill bridge pin holes; radius the back of the bridge on the soundboard. With a bridge in hand, we can proceed to attaching the neck to the body using a hybrid bolt-on mortise and floating tenon joint. Accordingly, mill and drill the tenon. Use the neck joint jig to route mortises in both the body and the heel of the neck and carefully route the neck joint angle.
Install the truss rod in the neck. Route a channel in the soundboard upper bout for the truss rod. Glue the fretboard to the neck. Fret it. Trim and shape the fret ends, level the frets and then recrown the now level frets.
Make the nut and saddle. (These four words understate the most exacting operations in guitar making!) Locate the bridge (most will glue it down after applying finish.) Install tuners, nut and saddle. Set the action. String ‘er up!
There you have it; a guitar “in the white” (sans finish); a lot to complete in 18 weeks!
In this class we will only discuss finishes, as there are so many finish options. To name a few: “French polish” of shellac, gunstock oil, nitrocellulose lacquer (gloss or matte), finishes UV cured with sunlight, and all sorts of spray-on (via rattle can or compressor) and wipe-on polys with diverse application schedules, number of applications, drying time between applications. Not to mention sunbursts with color in the finish vs. dye on the wood options. Glad to provide advice and share information and resources, but finishing – applying finish – is beyond the scope of this course.
If you have any questions, drop me a line.
—Larry

Meet the Instructor: Larry McCutcheon
Larry has been building guitars and ukuleles off-and-on for over 20 years. He studied guitar-building technique with Eric Nichols, SIMSCal’s former guitarmaking instructor and Director of Guitarmaking Operations. He has taught guitarmaking classes both “from a kit” and “from scratch,” and approaches the subject with an easy-going attitude. As he puts it, “Teaching is just sharing what you know.” Larry is a founding member of SIMSCal, and has served in various leadership roles within the club since 2004.
Safety and Tools
- Safety
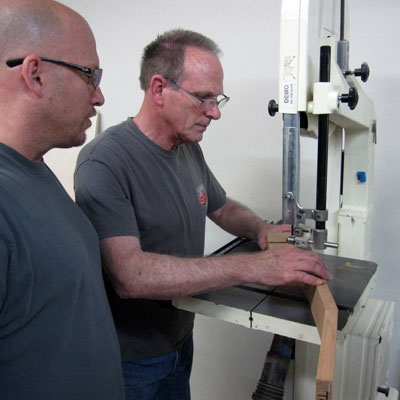
Notice that we put “Safety” first. Safety is the number one concern in the shop. Accordingly, there will be instruction on the proper use of all tools, including bandsaw, drill press, routers, and thickness sander, used in the class. Before starting, you will be required to sign a liability waiver. - Tools
SIMSCal and/or the individual instructor will provide all of the specialty tools and fixtures necessary to complete your guitar. No tools will leave the workshop; students are not allowed to borrow tools to complete tasks outside of class. If additional shop time is needed, this can be arranged on a case-by-case basis with the instructor.
Deposit — Steel String Acoustic Class
If you have already been contacted by the instructor and offered a spot in the upcoming class session, you can pay the $100 deposit to secure your place in the class here. You can pay with credit, debit, or bank transfer via PayPal by clicking the “Pay Now” button below.

