Solid Body Electric Guitarmaking Class
Welcome to the SIMSCal solid body electric guitarmaking class. In this class, you will learn to build a solid body electric guitar, in the style of either a modern Fender Telecaster™ (T-style) or a PRS Silver Sky™ (S-style) design.
The class, at a glance:
Tuition Cost: $1,500 ($100 deposit due upon registration)
Additional Cost of Materials: Approx. $500 – $600
Frequency of Class: Once a week (specific day TBD)
Length of Class: TBD
Number of Sessions: 8 sessions
Location: Orange County, California
(meetings may alternate between Huntington Beach and Irvine)
Start Date: December 2025
Instructor: Bryan Rourke
[email protected]
Class Overview
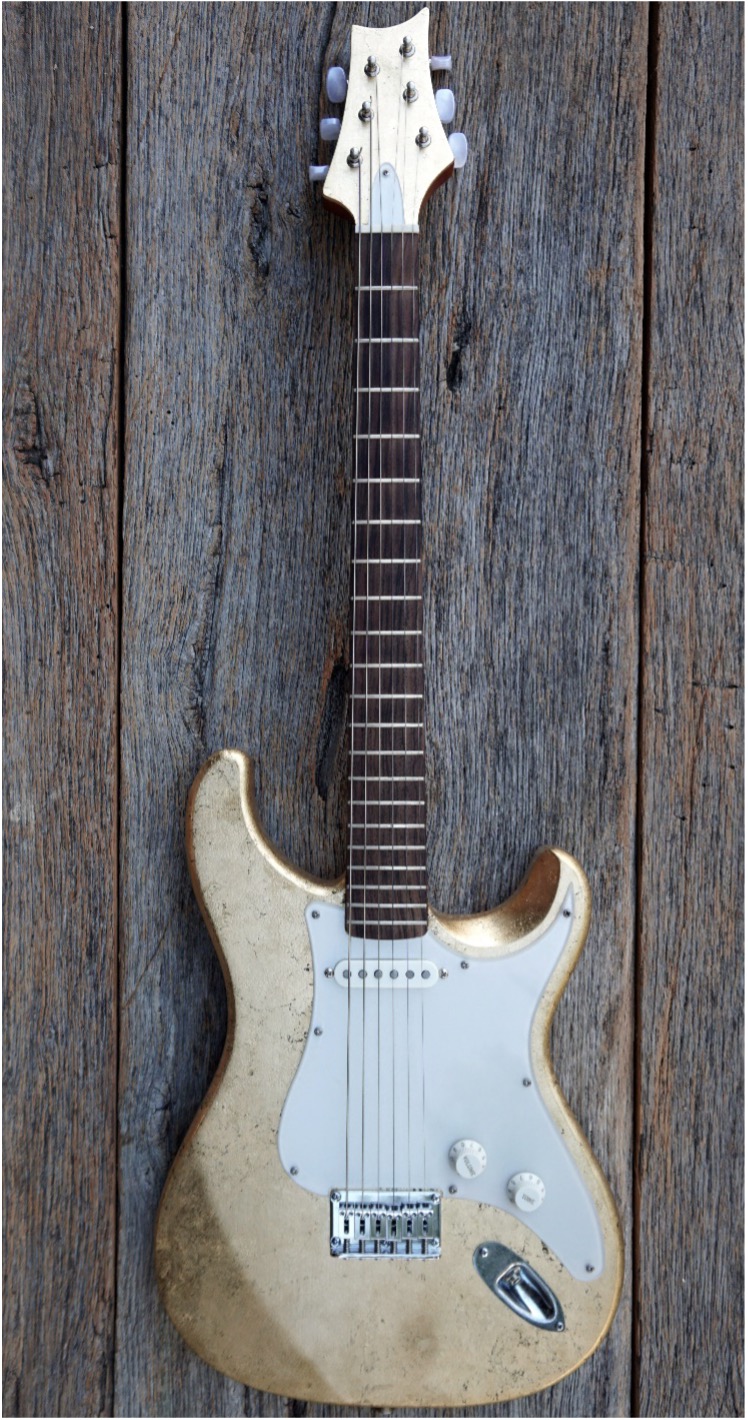
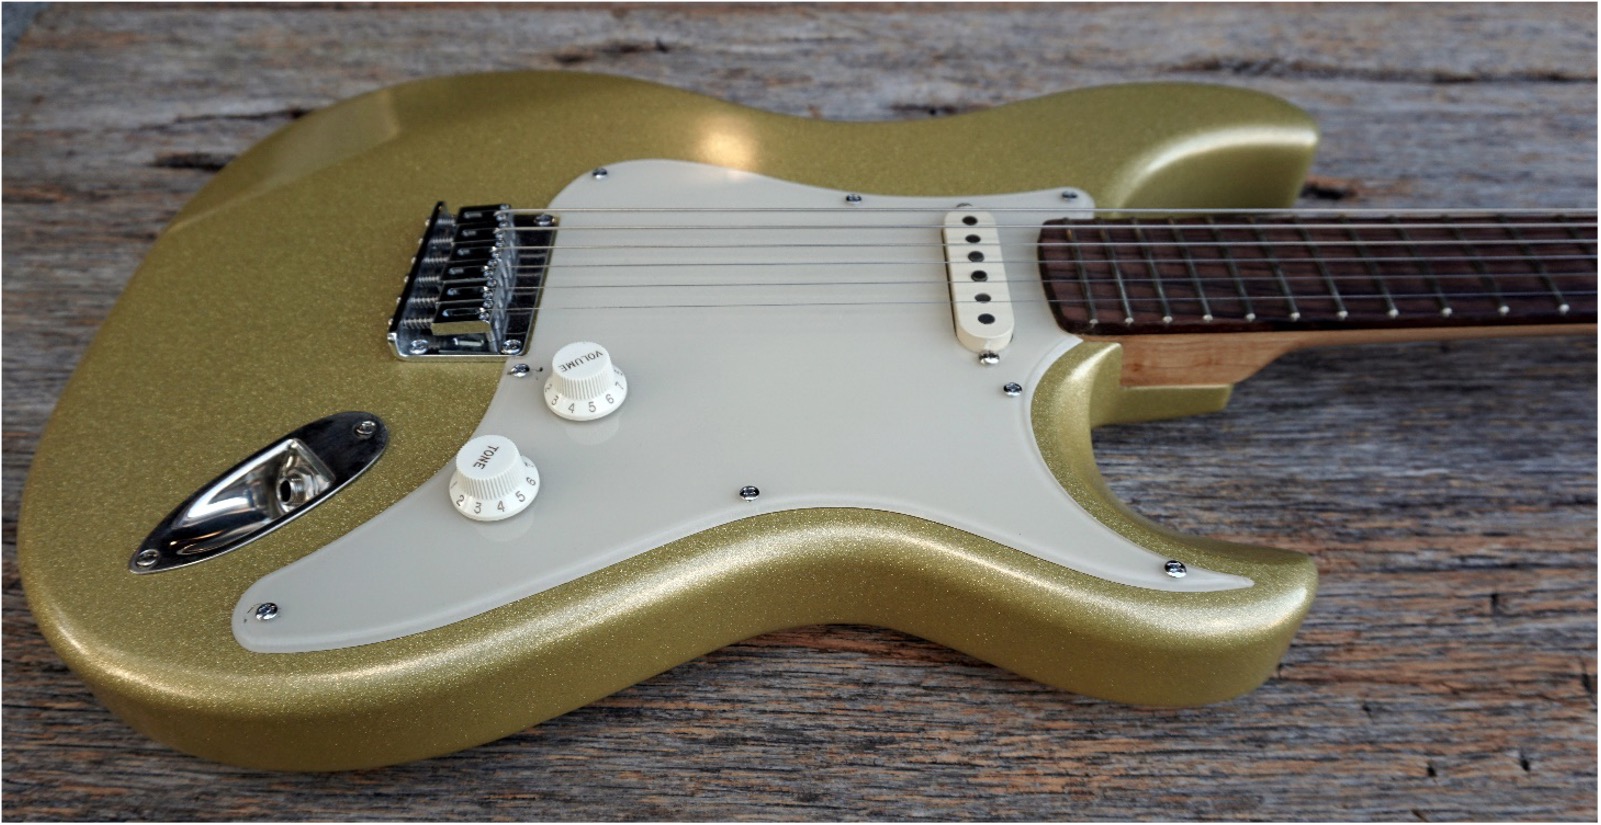
You will learn to construct a solid-body guitar in either a Silver Sky style (front or rear routed) or a modern Telecaster style (front or rear routed). The first example is of a front-routed S-style. This is like a Strat but with a smoother neck heel, a cutaway, and a tilted headstock. The pickguard allows for mounting of any pickup configuration, and the rout underneath is universal. The scale is 25.5” and the bridge is a through-body hard-tail. The neck is glued in. The tuners are small posts on this one, but more typically are larger button Schaller style, with examples below.
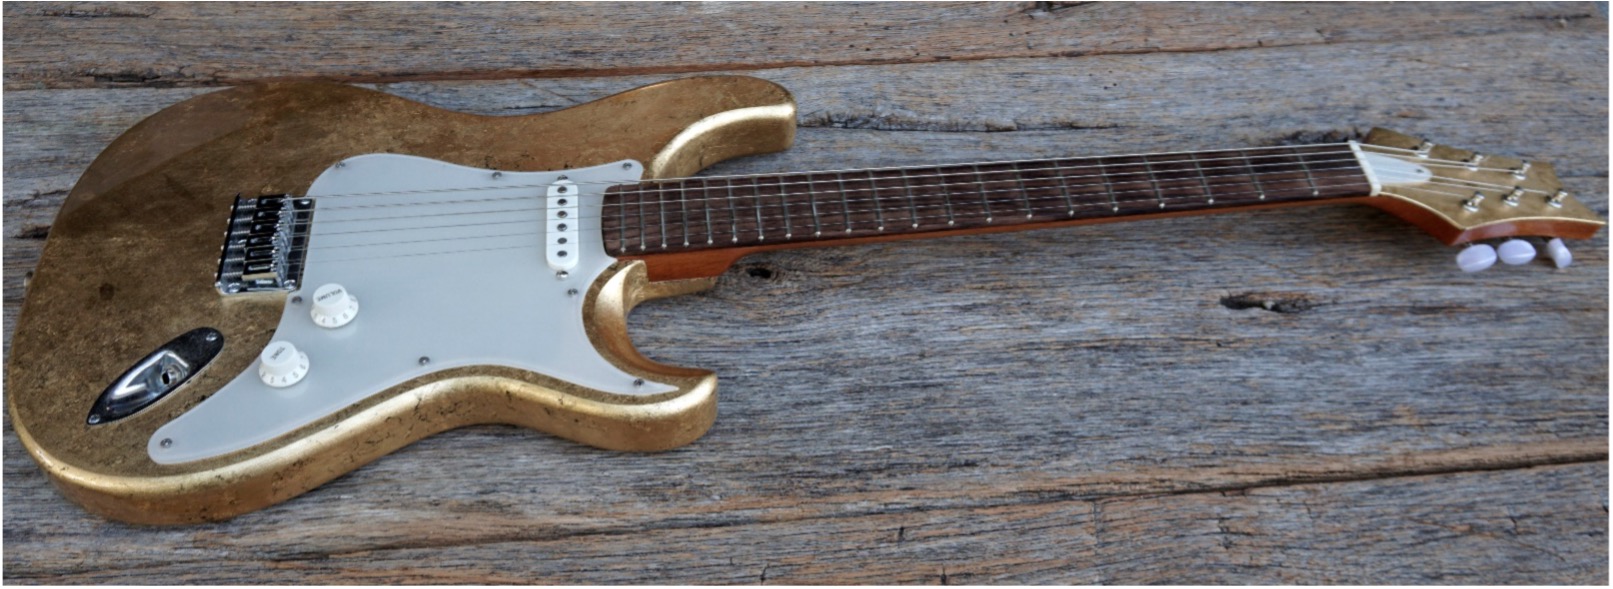
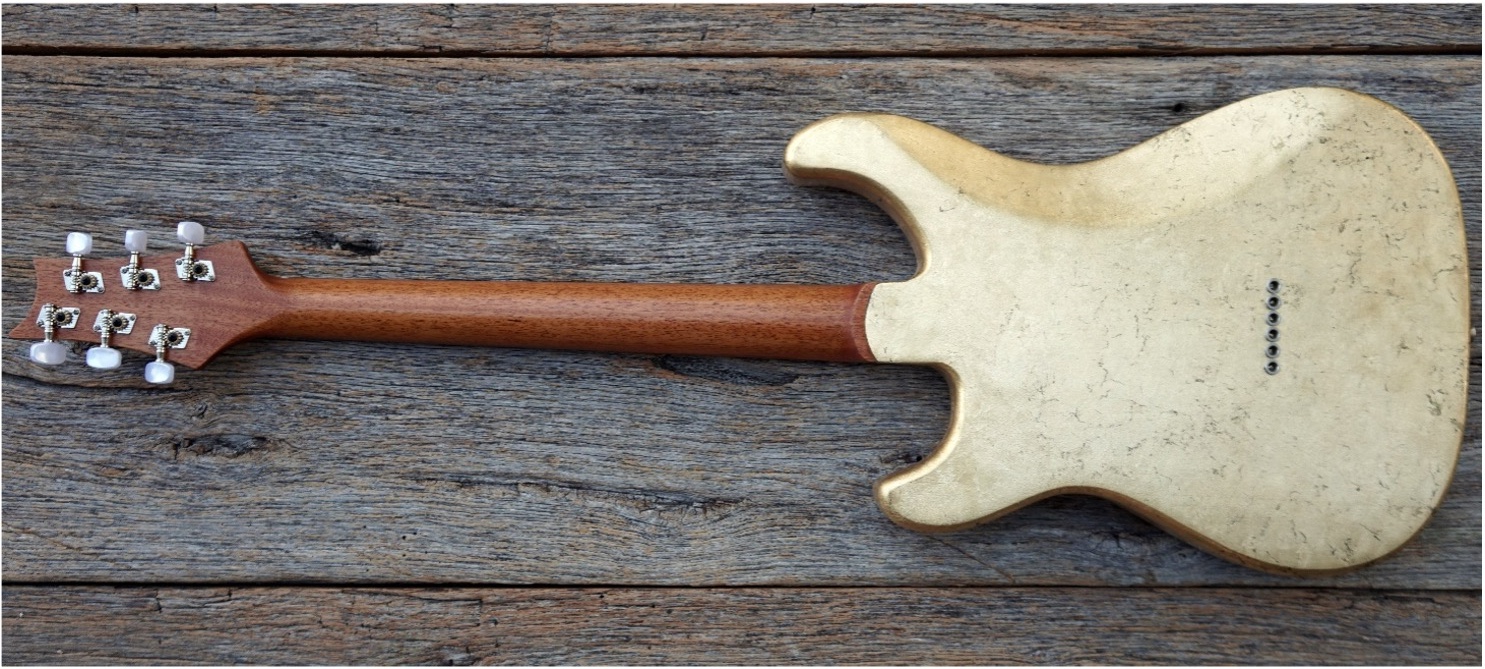
Above: S-style guitar by instructor Bryan Rourke.
Choosing the S-style option, in approximately 8 weeks you will:
- Select a body wood—Alder is suggested for lightness—from stock of 8/4 (2” thick starting and 7” wide).
- Join, thickness, and profile the body with a bandsaw, then a table router.
- Carve tummy relief and arm bevel by hand using templates, or the instructor can demonstrate on a CNC.
- Using a provided template, rout the electronics cavity with a plunge router.
- Drill holes for strings and bridge.
- Make a neck from 1” thick starting material, routed for a truss rod. The headstock is scarfed (glued at an angle), and the neck profile will be finished on a CNC.
- Either purchase a pre-radiused and slotted fretboard (12” radius suggested), or make one from ¼” thick material, cutting fret slots by hand.
- Press in the frets.
- Dress and polish the frets.
- Sand, seal, and oil the neck.
- Sand and seal the body. For finishing options, see below.
- Cut a pickguard.
- Wire the electronics.
- Perform final setup.
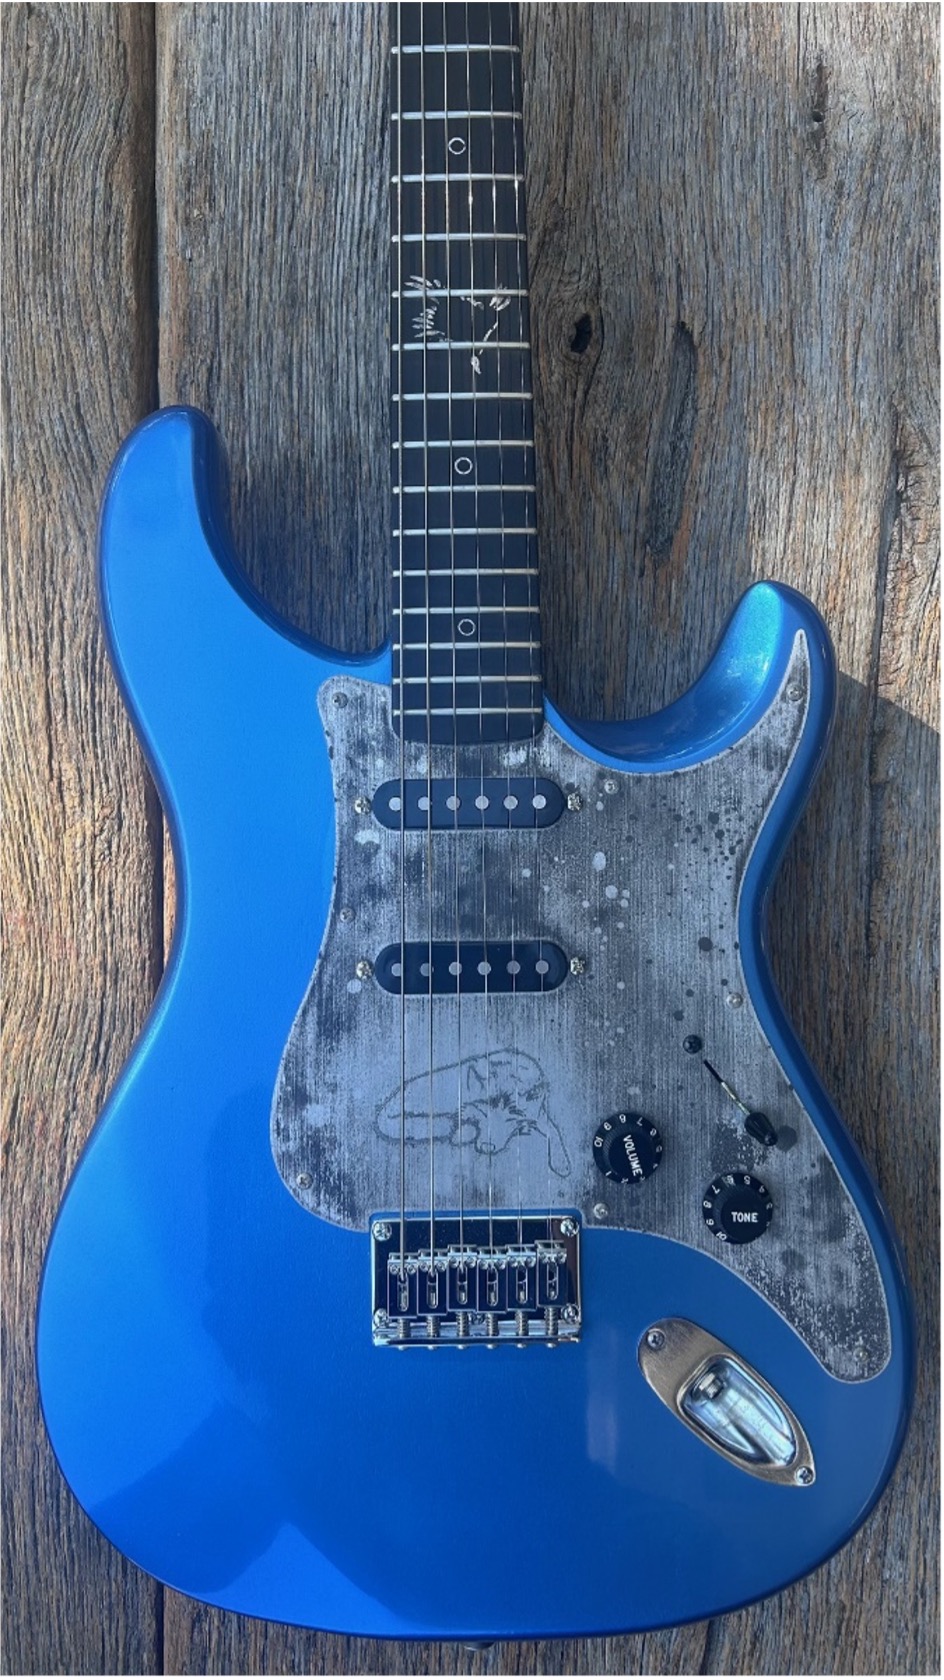
Above: S-style guitar by instructor Bryan Rourke.
Choosing the Modern T-style option, in approximately 8 weeks you will:
- Do the same as above, but rout the body for S-H or H-H pickups (single coil or humbucker, on pickup rings or pickguard—not all examples shown).
- Use the Fender-suggested scale of 25.5” (or 25” if you prefer).
- Install a hardtail bridge (or Tune-o-matic or wraparound, if you prefer).
Choosing the Baritone T-style option, in approximately 8 weeks you will:
- Do the same as above, but with a 26.5” scale. This scale is shorter than a 27” Fender baritone, or a 27.5” PRS, but sounds beautiful and is easy to play with a simple setup. It handles C standard tuning on 13s, and plays lighter than a Strat. It could tune down to B, as well, but I have not tried that yet.
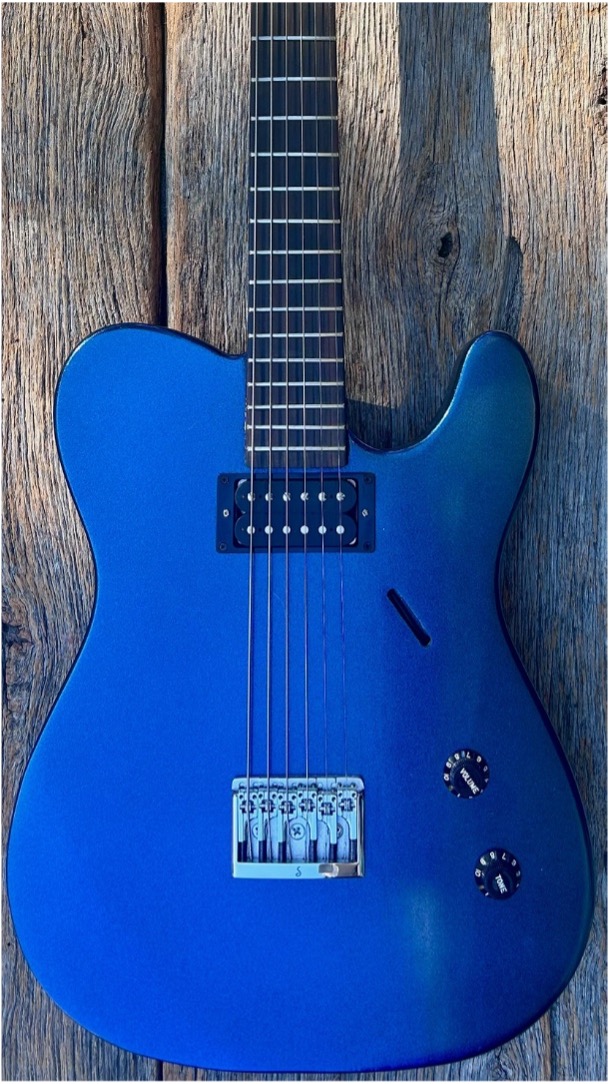
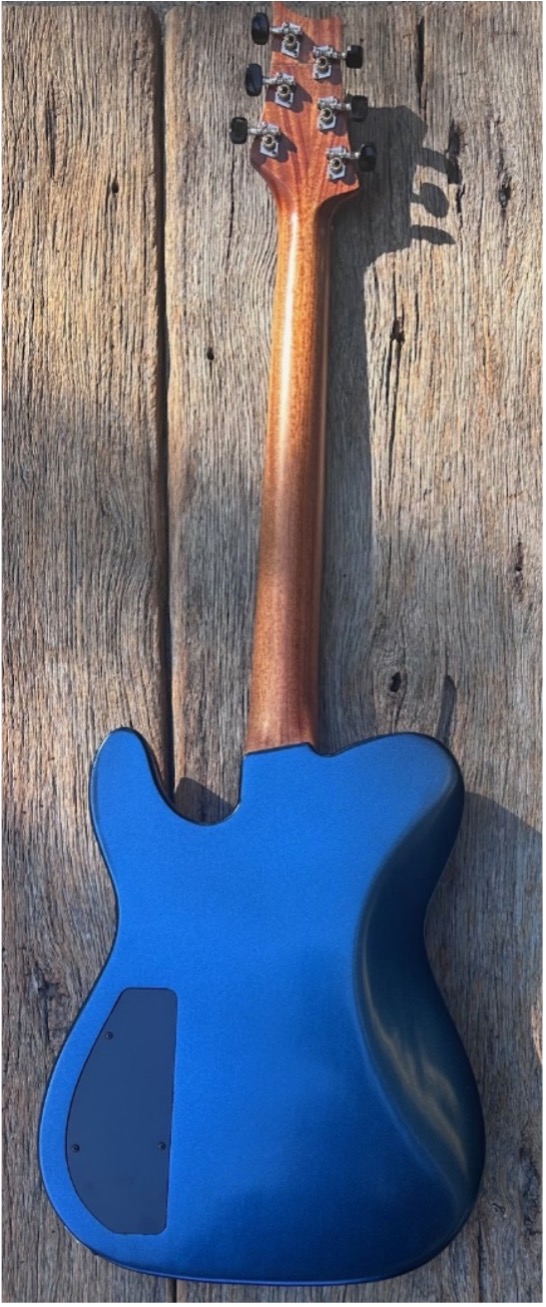
Above: T-style guitar by instructor Bryan Rourke.
The choice of woody materials is part of the creativity!
- Other body woods can be selected, but in the current configuration of no chambering, no hollow body construction, or tremolo rout, even ash and mahogany can be much heavier. Maple certainly will be, and I use light woods such as Spanish cedar to good effect
- Exotic or attractive top woods can be added for a natural finish, either omitting the arm carve or accepting a reveal of the wood below
- The necks can be sourced from quarter-sawn or flatsawn wood of mahogany, maple, walnut, rosewoods (see VENDORS)
Materials Needed and Suggested Vendors
- Tuners: Gotoh with large Schaller buttons are cheap and work great, come in nickel, black and gold @ Philadelphia Luthier Tools or StewMac. Budget open tuners (as shown on the gold guitars above) are okay.
- Necks: as 30” minimum stock from StewMac or Hibdon Hardwood, others. 36” for baritone.
- Fretboards: slotted and radiused from StewMac, or radius and slot yourself for something special.
- Truss Rods: StewMac two-way adjustable, 4mm nut.
- Frets: Any size you like, I use Wide/Medium (#149) from StewMac. Precut or in 2’ lengths.
- Body wood: Ganahl Lumber on a lucky day for Alder! Or anything local. Online from many places, too, but for learning, we want to avoid simply purchasing a glued blank.
- Bridges: Gotoh hardtail recommended, Schaller for baritone from StewMac or Philadelphia Luthier Tools.
- Pickguard: typical 3-ply from a blank (Warmoth, StewMac), wood, acrylic (to paint from underneath), aluminum or brass (SendCutSend).
- Pickups: whatever! I can suggest inexpensive or great sounding from StewMac, Seymour Duncan, Fender.
- Electronics: StewMac for CTS pots, capacitors, knobs, jacks, wire; pre-wired harnesses not required, but can be used.
Finishing Options
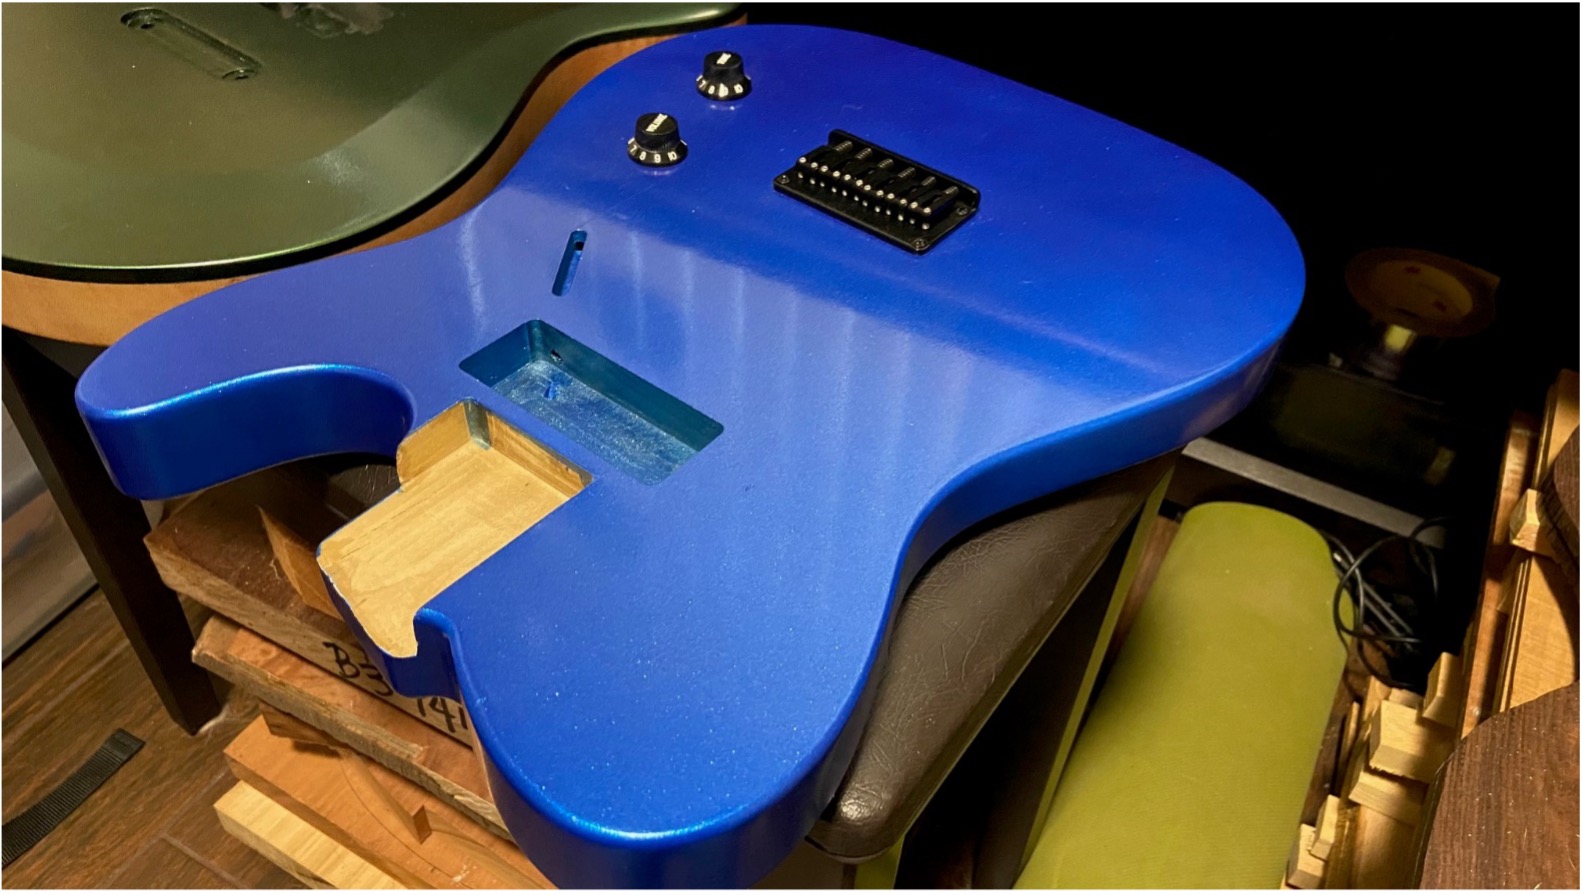
We should be able to complete the body early on, sand (about 50% of your effort, seriously), and epoxy seal. After that, I can instruct in a wipe-on oil finish (I have TruOil to demonstrate, including some as an aerosol). I can instruct in water-borne clear and sealer, and for additional cost, I can instruct in urethane colors for pearl, flake, or solid basecoats. Natural wood looks great and I have made many.
A note about rattle-can finishes: While I currently use an HVLP spray gun setup, I have long experience with rattle can finishes, and they have dramatically improved in ease of application in recent years. I still use spray cans for primer, base, and even metallic finishes. They are available from Painthuffer, Roth Metal Flake, Tropical Glitz, and Didspade. They are all safe to spray outside with a mask, are disposable at hazardous waste collection, and will not be distinguishable from my spray-gun setup (spot the rattle can paint on this page!). Buffing and sanding matter, and initial surface prep matters the most!
A special note about “Nitro” finishes: StewMac currently sells a California-legal nitro finish set in a can. I have used them, and they are great, but time-consuming. Like a month or more for the process. I can show you, but it is a long deal. They have an excellent video series on their webpage, and yes, the video is long, too. If you absolutely have to have a vintage-correct color and nitro checking, have at it, and I will help you. But there are quicker ways to a beautiful finish.
Additional Notes
Use of CNC methods: Full disclosure, I use CNC for 99% of my own guitar making. I will show you how to use routers, band saws, jointers, thickness sanders, and sanders, but if you ask me what the fastest, easiest, safest method for body profiling, cavity routing, neck shaping, and contouring is, it is always CNC. I will gladly demonstrate the CNC methods, but you are encouraged—and provided with materials and instruction—to use plunge routers and table routers.
Adding inlay: I frequently incorporate small inlay, engraved by CNC and filled with colored epoxy. I can instruct in this, some designs may be additional cost if desired. I have an artist I work with as well.
Pickup configuration: This class will instruct routing for double humbuckers or P90s, or three single coils. Most of my recent electric guitars have a single pickup only, because I play mostly neck pickup.
Final Expectations
The class may meet first on Zoom for planning, and to clarify the pacing and expectations of the course. Students will be provided with a customized build sheet of your guitar, with specs, steps, and measurements. In-person classes will be at a workshop in Huntington Beach. Some setup and finishing may be performed in Irvine.
I will strive to help you produce a playable instrument upon completion, but many steps will require at-home effort (such as sanding, sealing, and some finishing). I am open to some off-menu requests, but I won’t guarantee everything.
The course is planned for 8 weeks, meeting weekly. You can finish in less time, depending on previous experience or skills. I will be reasonably available should setup and finishing extend beyond 8 weeks, at the discretion of the instructor.
Contact Instructor to Register
To register for our Solid Body Electric Guitarmaking Class, please email the instructor, Bryan Rourke, directly:
[email protected]
Provide your name, and an email address or phone number where you can be reached, and Bryan will respond to your inquiry with details on class dates, workshop location, payment schedule, and more.
Pay Your Deposit
After speaking with the instructor to confirm there is an available spot for you in the class,
click here to visit our Class Payment Portal.

Meet the Instructor: Bryan Rourke
I started building guitars from an LMI kit and a DVD twenty years ago. It was a steel string, walnut and spruce, and I had a Dremel and a tiny bandsaw for most of it. It was almost unplayable because I did not understand setup or neck fitting, but the beauty of the wood and the possibility of the sound captured me. I kept building and discovered SIMS Cal, and was fortunate to enroll in a classical guitar building course with Monica Esparza. We again used an off the shelf neck, and it was again almost unplayable! But I learned how to bend sides, and voice tops, and how deeply some artisans could invest in the construction of instruments. I made guitars mostly for myself, and a few friends and customers. I built them to play them, and to hear others play mine.
I bought a small CNC machine 10 years ago because classical neck construction was a sore point – I wanted a more precise and faster method. I also was tired of cutting circles with the Dremel, and a CNC makes easy circles! My in-law wanted a PRS for his birthday, and without really playing a real one, we set about making a version that has become my favorite construction. Semi-hollow, a small carve on the top, and a mash of scale and hardware that just feels comfortable to play and beautiful to look at. The CNC got bigger, the digital rendering became more involved, but turning wood from backyard trees (my parents’ 100-year-old oak) and continents far away (Tasmanian blackwood from a friend) into a curvy body with a chunky neck and thick tones is captivating.
Great guitars are easy to find in stores. Parts bodies for an electric guitar are cheaper to use than making one. But to build a guitar that means something to you because of the wood, the specs, the color, the customization—from your hands? That’s what I would like to share.
Safety and Tools
- Safety
Safety is the number one concern in the workshop. Accordingly, there will be instruction on the proper use of all tools, including bandsaw, drill press, routers, and thickness sander, used in the class. Before starting, you will be required to sign a liability waiver. Students should always bring ear and eye protection, as well as a dust mask. No open toed footwear or loose clothing. - Tools
SIMSCal and/or the individual instructor will provide all of the specialty tools and fixtures necessary to complete your guitar. No tools will leave the workshop; students are not allowed to borrow tools to complete tasks outside of class. If additional shop time is needed, this can be arranged on a case-by-case basis with the instructor.
Fill out the following forms and return to the instructor, or bring on the first day of class.

